MiRoCloud Interface Guide
Overview
This page provides an overview of the MiRoCloud interface.
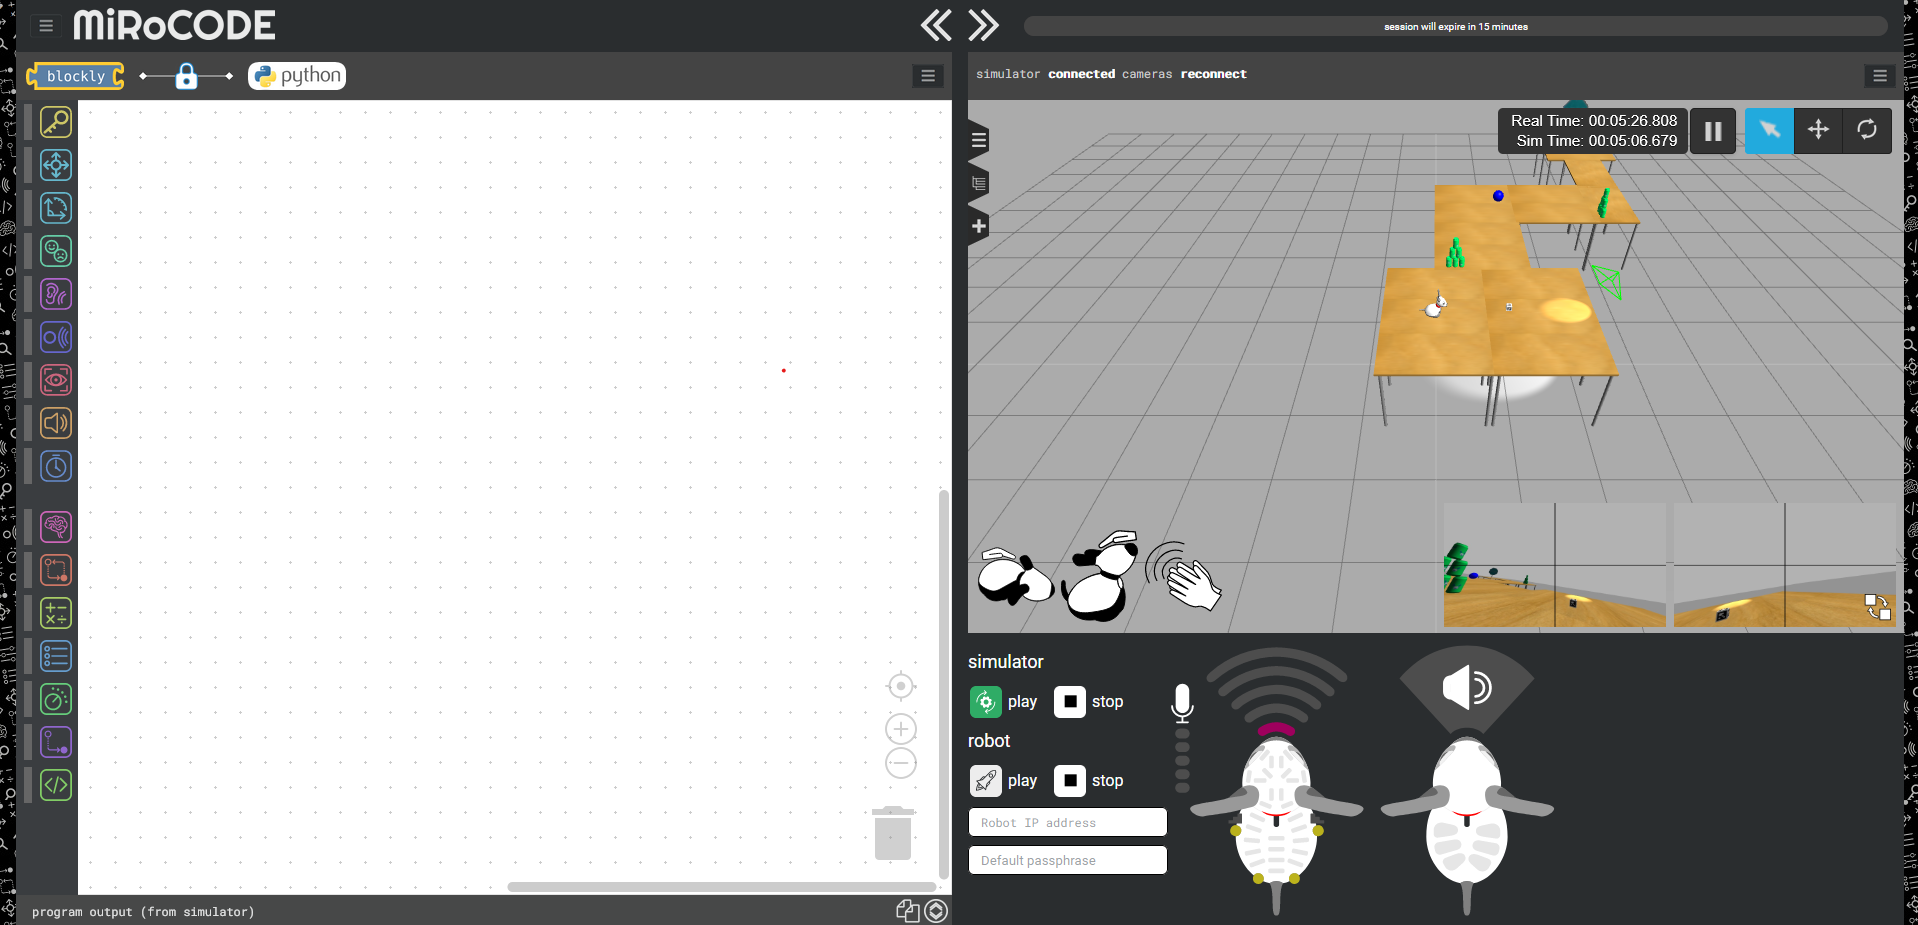
The interface is divided into three main areas:
- Simulator view — where you see and interact with MiRo
- Control panels — where you run code and monitor sensors
- Canvas and blocks — where you build programs
Zooming
Use Ctrl + + / - / 0 to adjust zoom levels. Interface elements and the simulator view can be scaled independently.
Simulator view
The simulator displays MiRo in a virtual environment.
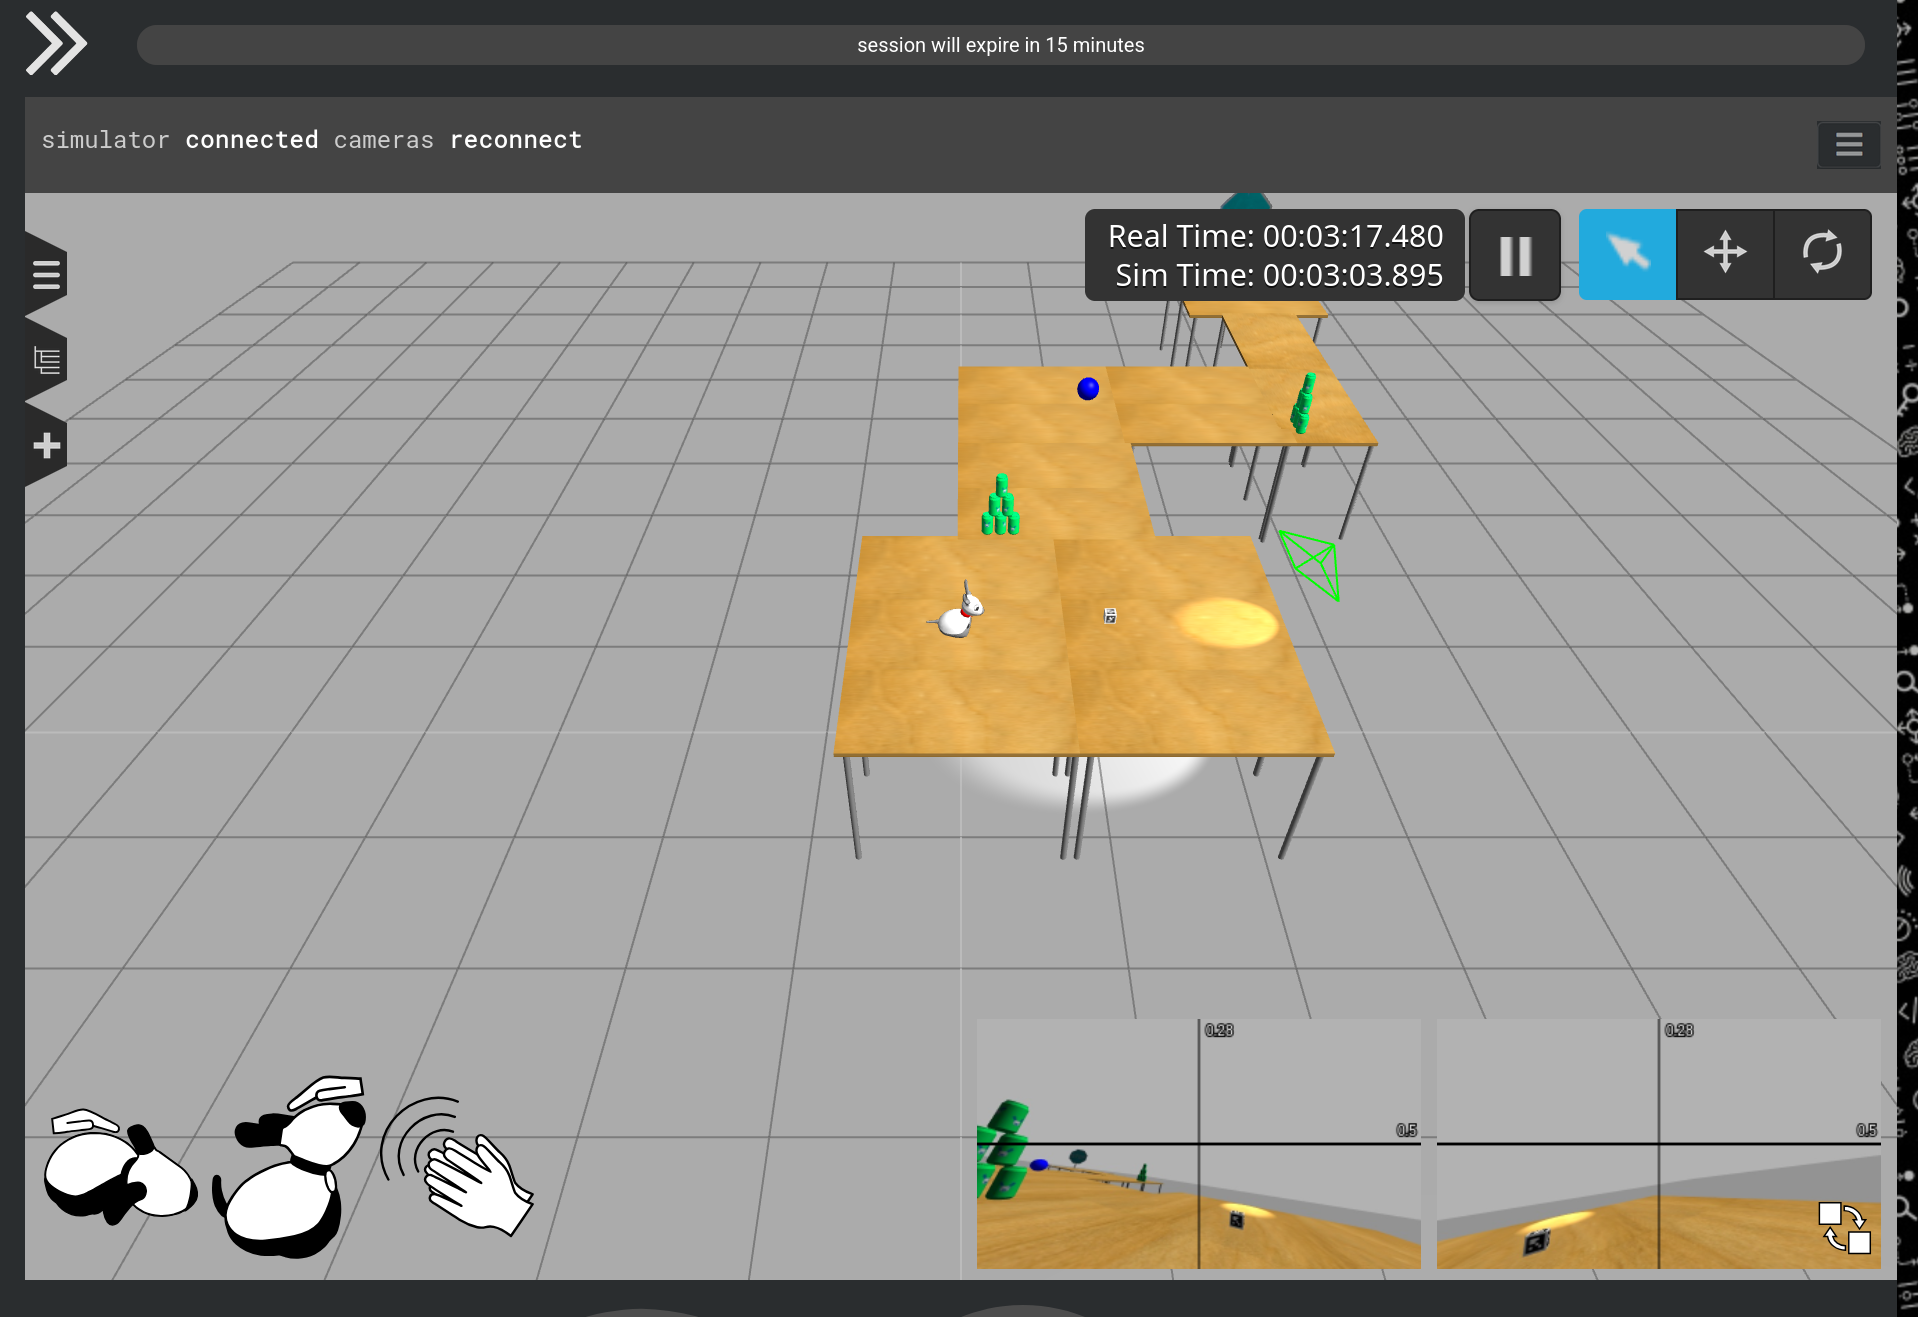
Top bar

The bar at the top of the simulator includes:
- Session timer — shows remaining time before automatic shutdown
- Reconnect — restores camera feeds if they freeze
- Layout controls — adjust panel sizes
- Menu — load different environments ("worlds")
Session timeout
Sessions automatically terminate after a period of inactivity (15 minutes). Interact with the simulator periodically to keep it active.
Camera controls
You can control the view using your mouse:
- Rotate: click and drag
- Pan: right-click and drag (or equivalent)
- Zoom: scroll wheel
Simulation controls

These controls affect the simulation itself, not your program execution.
- Play / Pause — start or stop the simulation
- Selection mode — select objects
- Translation mode — move objects
- Rotation mode — rotate objects
Reset options
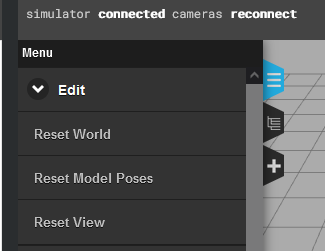
- Reset World — resets time and dynamic elements
- Reset Model Poses — resets movable objects only
- Reset View — returns the camera to its default position
Interaction buttons

These simulate physical interaction with MiRo:
- Body touch — triggers body sensors
- Head touch — triggers head sensors
- Clap — simulates MiRo "hearing" a clap
Use these to test sensor-driven behaviours.
Camera feeds
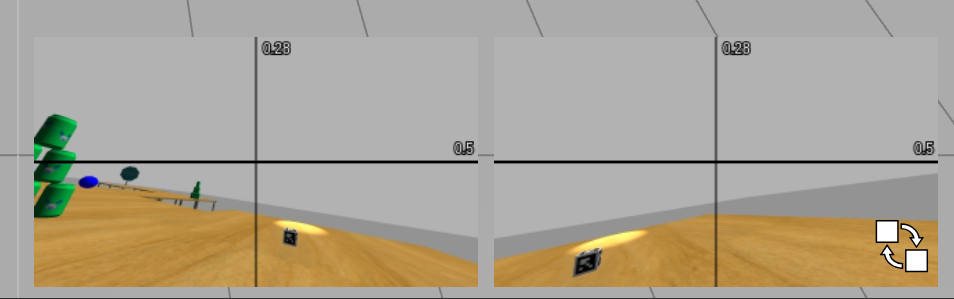
The simulator shows live feeds from MiRo's cameras. These represent what the robot "sees". Click the button in the bottom-right corner to expand this view.
Control panels
The control panels manage program execution and display sensor data (indexed elements are explained below).
Execution controls
- Run in simulator — executes your program in the virtual environment
- Run on robot — executes on a physical MiRo (if available)
- Stop — halts execution
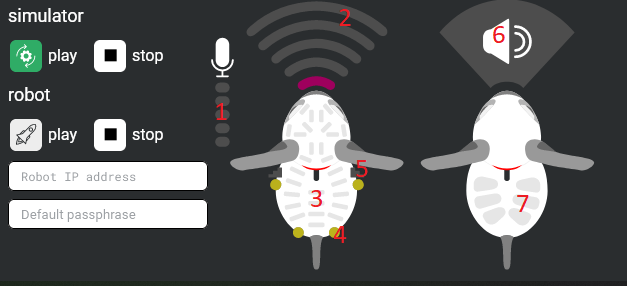
Sensor display
The interface provides (close to) real-time feedback from MiRo's sensors.
1. Microphone — indicates sound input (works only with the Clap button when in simulation).
Left-hand MiRo icon
2. Sonar (nose) — proximity to objects using ultrasound sensor
3. Touch sensors — shown as bars; activate when pressed
4. Light sensors — indicate brightness levels
5. Cliff sensors — detect edges and prevent falls
Right-hand MiRo icon
6. Speaker — indicates sound output
7. LED indicators — show LED states (visualised in the UI only when in simulation)
Canvas and blocks
The canvas is where you build programs using blocks.
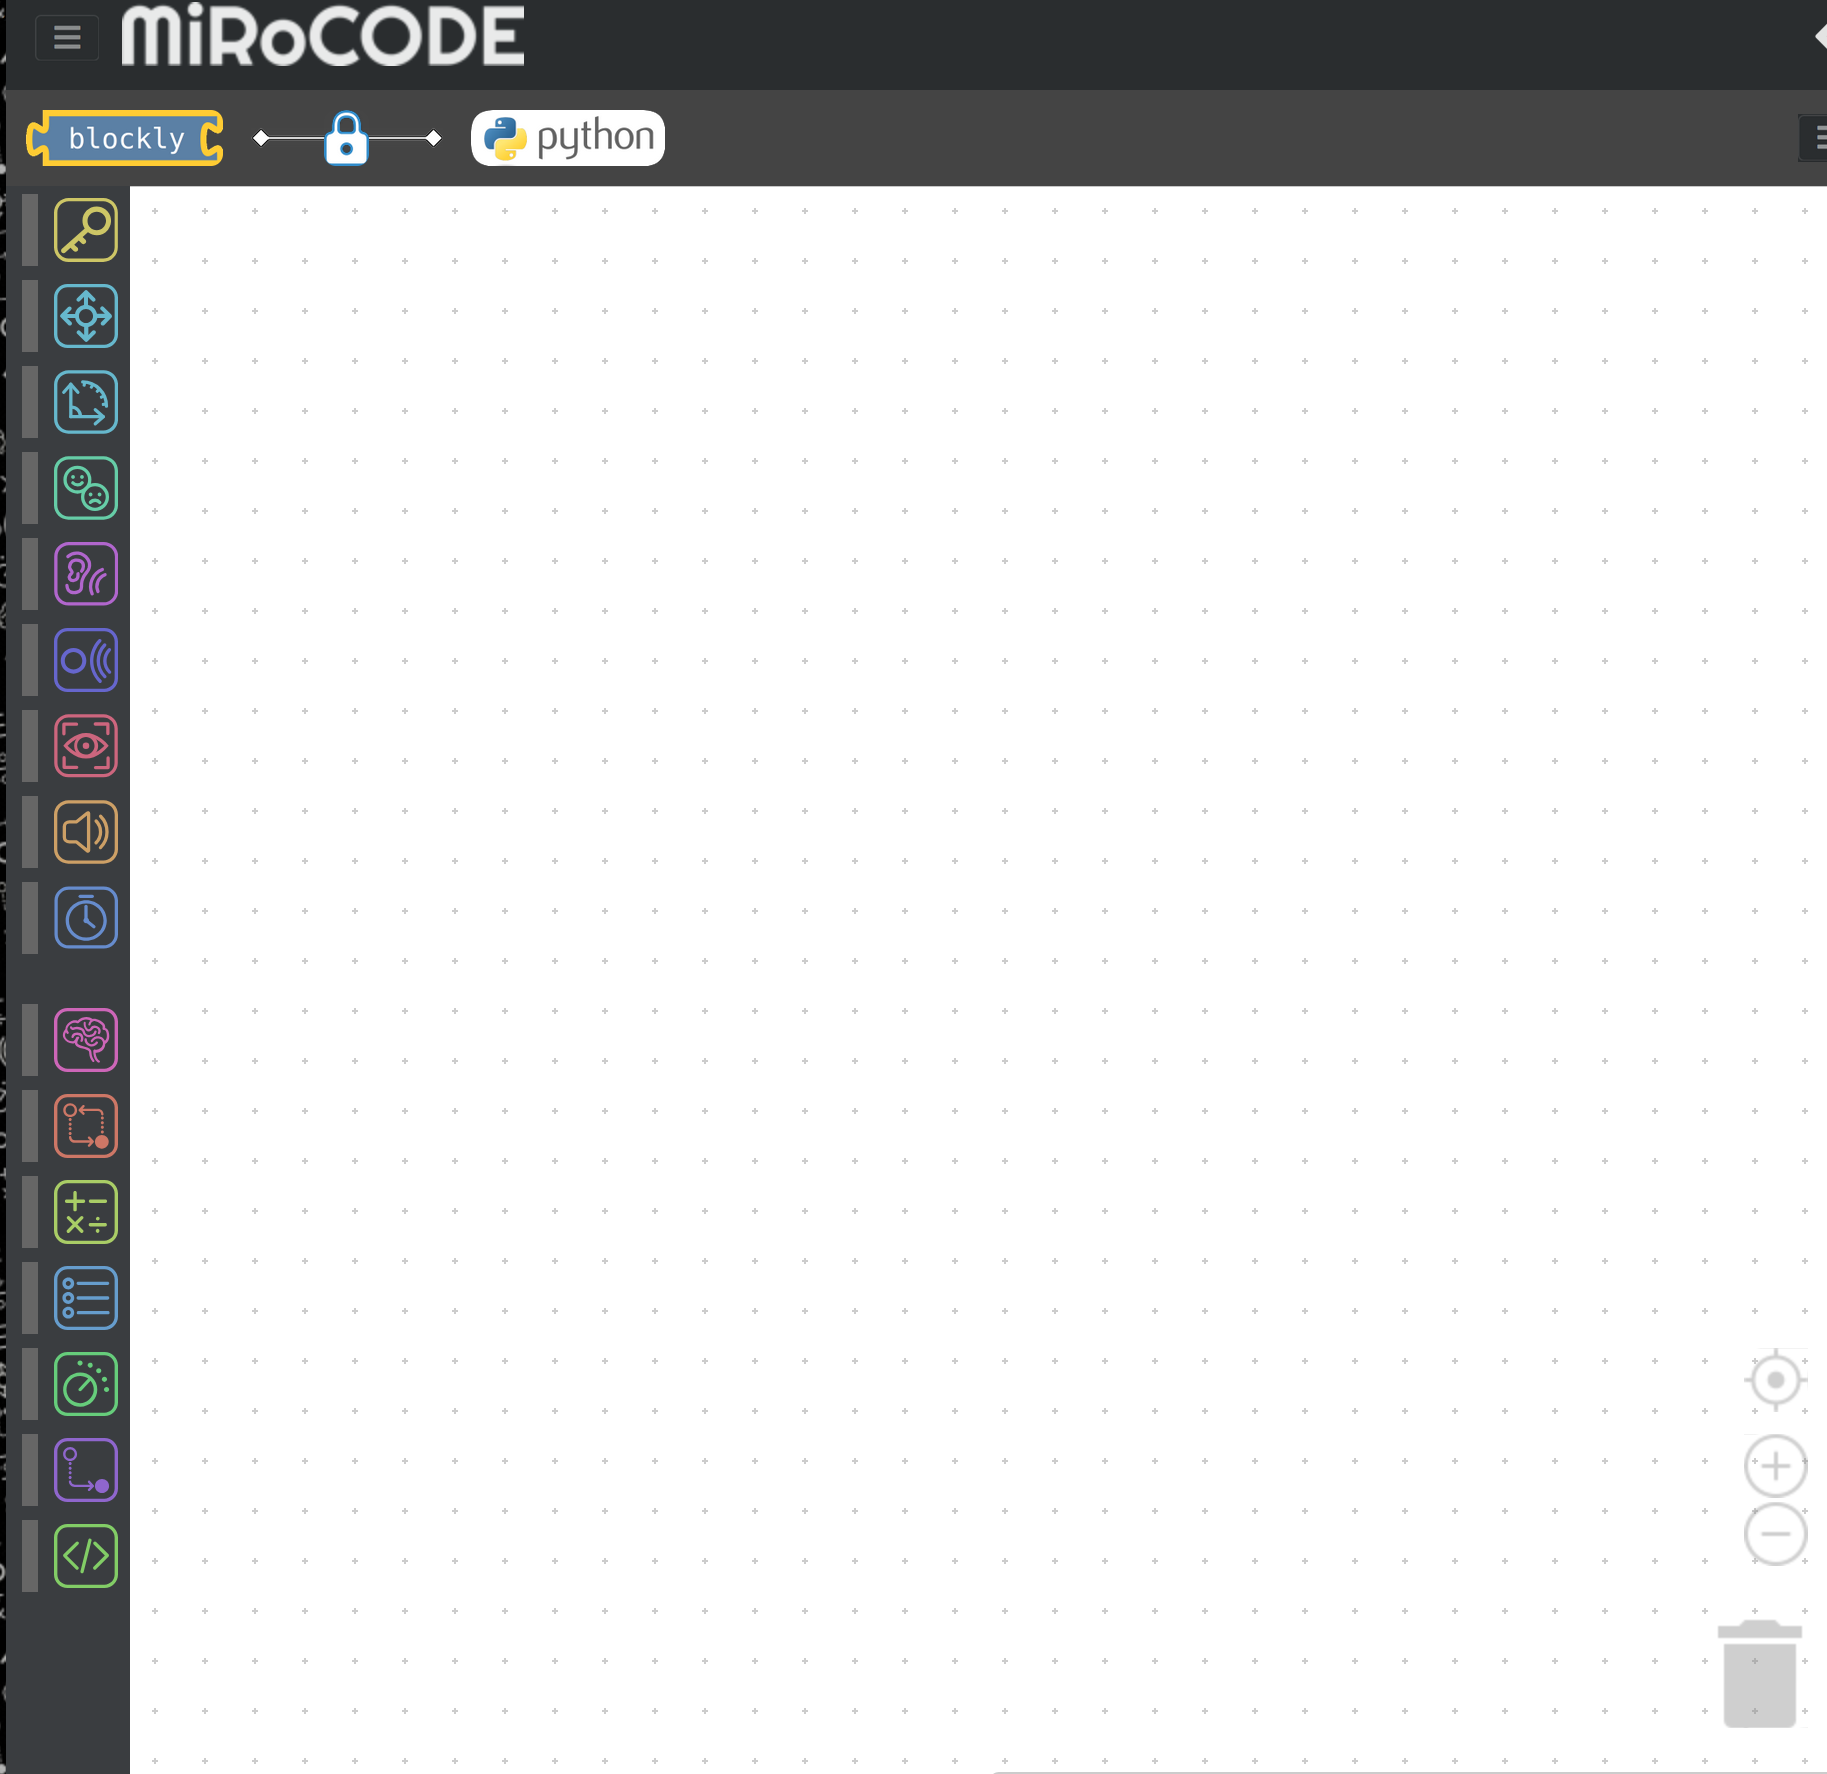
Blockly / Python selector
This allows switching between the Blockly visual programming interface and programming in Python.
Block categories
Blocks are organised into two main groups:
- Robot — actions, sensors, movement
- Control — logic, loops, variables
Main menu
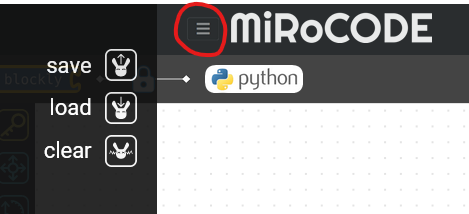
- Save Program — export code as
.mirocodefile - Load Program — import a saved file
- Clear Canvas — remove all blocks
Canvas controls
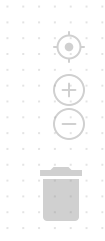
- Centre view — focuses on your program
- Zoom in/out — adjust scale
- Bin — delete blocks by dragging them in
Output (console)
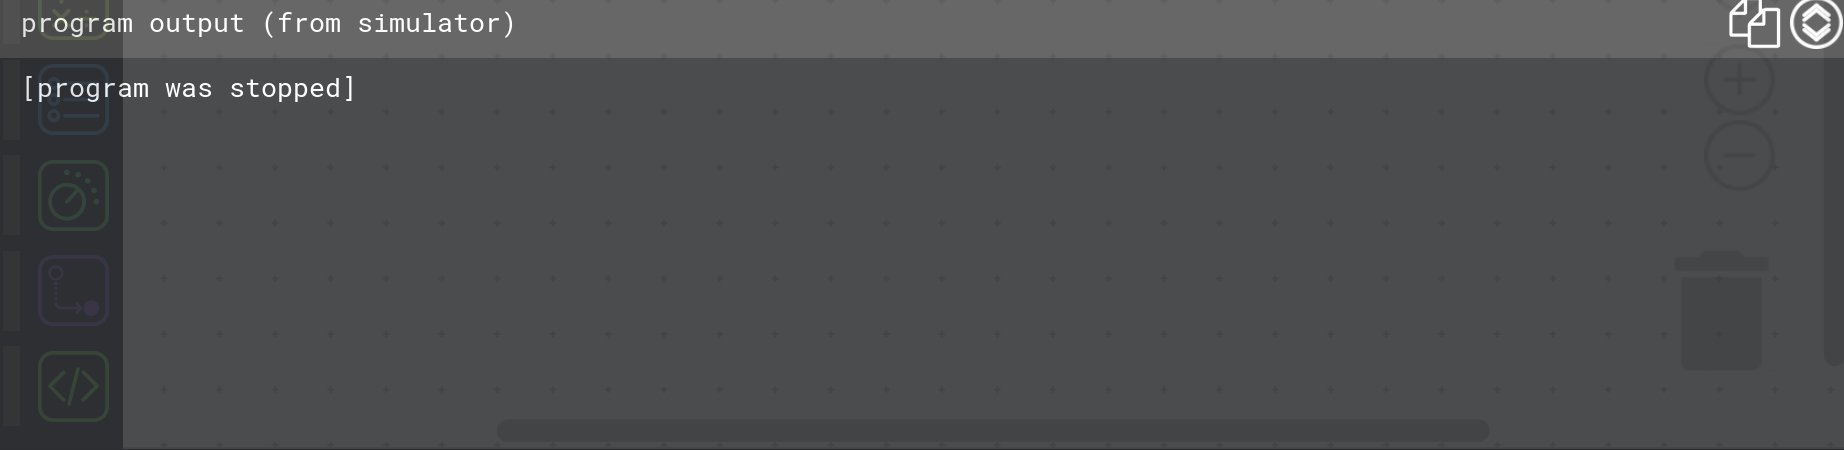
The console displays:
- Program output (e.g.
printstatements) - Execution status
- Error messages
Controls
- Copy output — copies text to clipboard
- Toggle view — expand or minimise the console