Programming with MiRoCODE (Python)
Overview
MiRoCODE includes a Python interface that sits between the Blockly editor and the underlying robot system. It handles low-level details (e.g. ROS communication) and exposes a simpler set of functions for controlling MiRo.
A practical way to start is by translating an existing Blockly program:
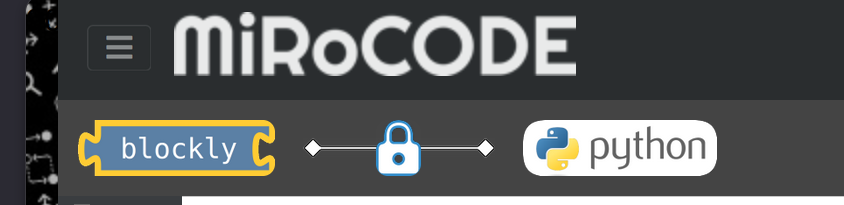
- Click the lock icon to convert your Blockly program into Python
- This replaces the Python canvas with generated code
- Click again to unlock and edit the code
This lets you reuse existing logic rather than starting from scratch.
One-way process
Unfortunately, it is not possible to convert Python code back to Blockly.
The MiRo Interface
Python programs use a single interface object MirocodeInterface that provides:
- Movement commands (e.g. speed, turning, driving set distances)
- Access to sensors (sonar, touch, light, cliff, etc.)
- Control of outputs (LEDs, sound, joints)
- Timing and execution control
Example initialisation (required once per program):
Key parameters:
pose_ctrl: keeps movement straight using wheel feedbackcliff_reflex: prevents driving off edgescontrol_period: update rate (0.1s = 10 Hz)
Movement control
Two styles are supported:
Continuous commands
These execute immediately and persist until changed:
Each call is non-blocking, i.e. the program continues to the next line straight away.
The command remains active, but without any timing control (e.g. miro.sleep() or a loop), it won't run long enough to produce visible movement.
Blocking actions
These complete before continuing:
Use blocking calls for simple sequences; use continuous control for reactive behaviour.
Reading sensors
Sensor functions return values directly:
Further examples:
print(miro.read_sonar_range())              # distance in metres
print(miro.read_cliff_sensor_list())        # left/right cliff detection (True/False)
print(miro.read_light_sensor_list())        # 4 brightness values (0–1)
print(miro.read_head_touch_sensor_list())   # 14 touch sensors (True/False)
Timing
Use the interface clock rather than time.sleep():
You can also set timed conditions:
Outputs and expression
Examples of non-movement control:
miro.play_tone(500, 1, 50)
while miro.is_active():
    miro.control_led(63, [255, 0, 0], 200)
    miro.wag_frequency(1.5)
You can also control joints:
- neck (lift, yaw, pitch) in degrees
- cosmetic joints (tail, ears, eyes) in range 0–1
Example: simple reactive behaviour
This example code will continuously:
- check the left cliff sensor
- turn if an edge is detected
- otherwise move forward
while miro.is_active():

    if miro.read_cliff_sensor_list()[0]:
        miro.speed(0)
        miro.turn_speed(40)
    else:
        miro.turn_speed(0)
        miro.speed(0.3)
Key differences from Blockly
- You must explicitly structure loops (
while miro.is_active():) - Sensor checks are written as conditions, not blocks
- Commands persist until replaced (no implicit stopping)
- Timing is manual
Debugging and common issues
The Python interface provides only basic debugging support. In many cases, errors are not reported clearly, and programs may fail silently.
What to expect
- Syntax errors (especially in embedded Python blocks) do not always produce useful messages
- Some errors (particularly string parsing issues) can prevent execution without any visible output
- If a program fails early, the robot may simply not respond
Tips
-
Use simple checks to narrow things down:
* If nothing prints → the program did not start correctly * If it stops midway → the issue is likely before the last printed line
Common pitfalls
- Mismatched or missing quotes in strings
- Invalid indentation or mixing tabs and spaces (Python is strict about this)
- Incomplete blocks after translation from Blockly
- Attempting to modify code while it is running
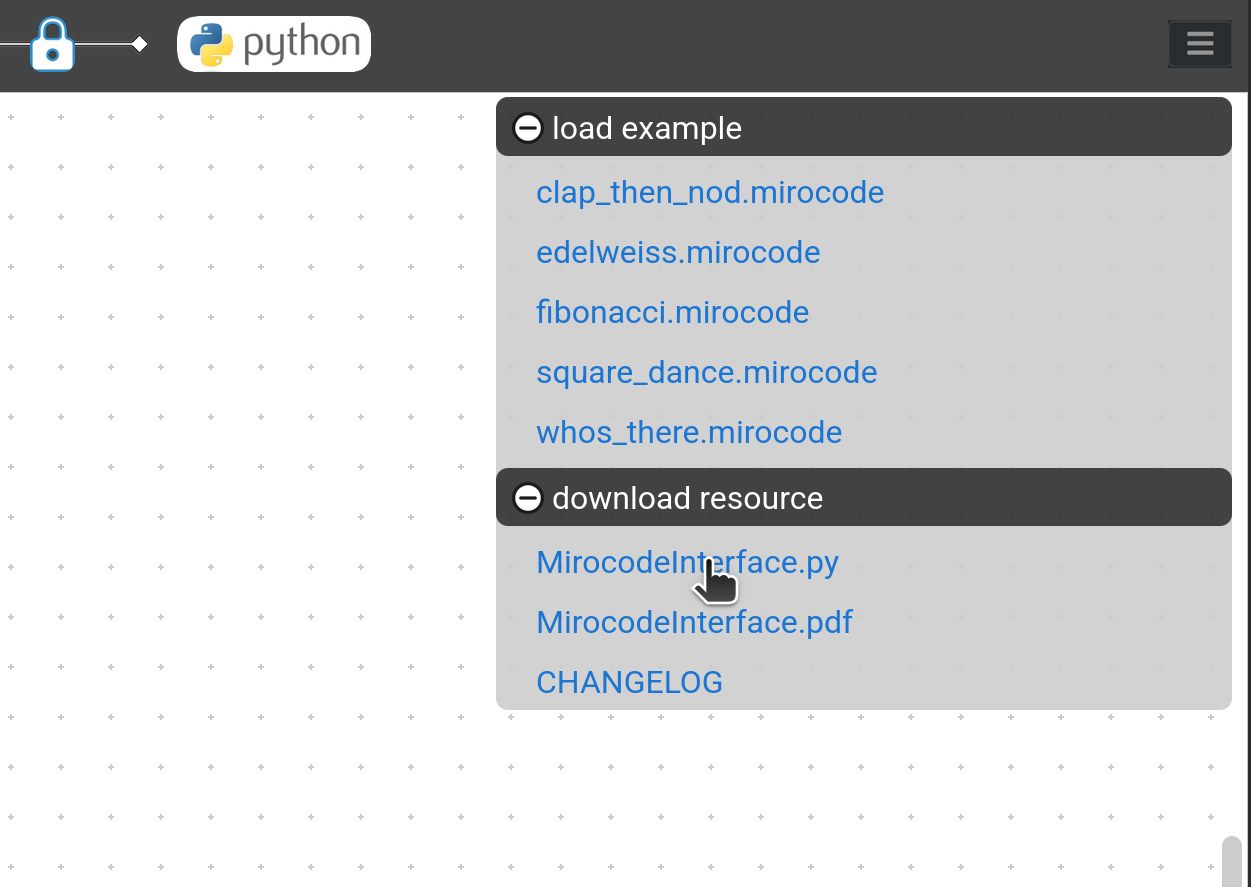
Documentation
Full details of the Python interface (including all functions, parameters, and return types) are available in the official documentation provided with the system.
You have two main references:
- A PDF reference guide, which gives a structured overview of all available functions
- The Python interface source file, which defines the actual implementation and exposes the full API