Getting started with MiRo
Pre-requisites
- Firefox browser.
- eduroam + University VPN.
- MiRoCloud credentials.
⚠️ Rules for working with MiRo
Handle MiRo with care!
| ✅ DO | ❌ DO NOT |
|---|---|
| Lift by the body: Support its weight from underneath the main shell. | Never lift by the head: This can cause permanent damage to the robot. |
| Manual movement: Only move joints gently when the robot is OFF. | Never force joints: Do not move appendages while they are under power. |
| Desk Use: Keep MiRo stationary or only use rotational motion when on a table. | No driving on tables: Use the floor/arena for translational motion. |
| Safe placement: If you need to move MiRo, pick it up and place it. | No "pushing": Do not forcibly push or drive MiRo across the floor by hand. |
Switching On & Booting
Turn on your MiRo using the switch located underneath the body.
Observe the LEDs on the left side of the shell:
- Initial Power: Red and Blue lights flicker together for 2 seconds.
- OS Booting: Red light stays Solid, Blue light Flashes slowly. (The on-board computer is starting).
- Ready: Blue light stops flashing and stays Solid.
- Network: MiRo connects to
DIA-LABand starts Bluetooth services. - IP Announcement: Once connected, MiRo will speak its IP address aloud.
A note on MiRo's IP address
All MiRos in the Diamond have an IP address in the following range:
where XX goes from 01 to 40.
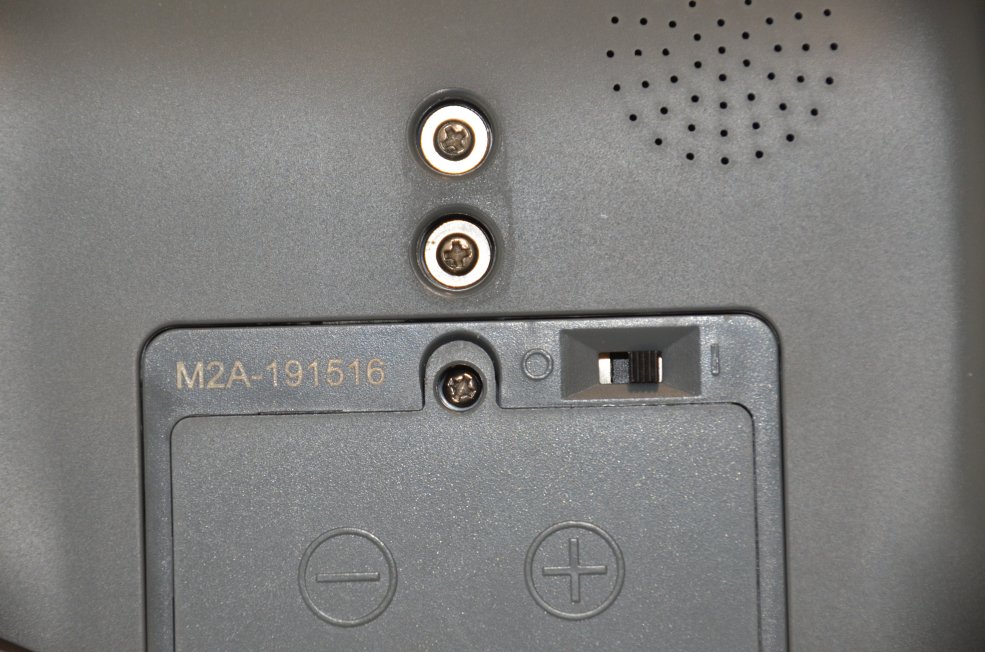
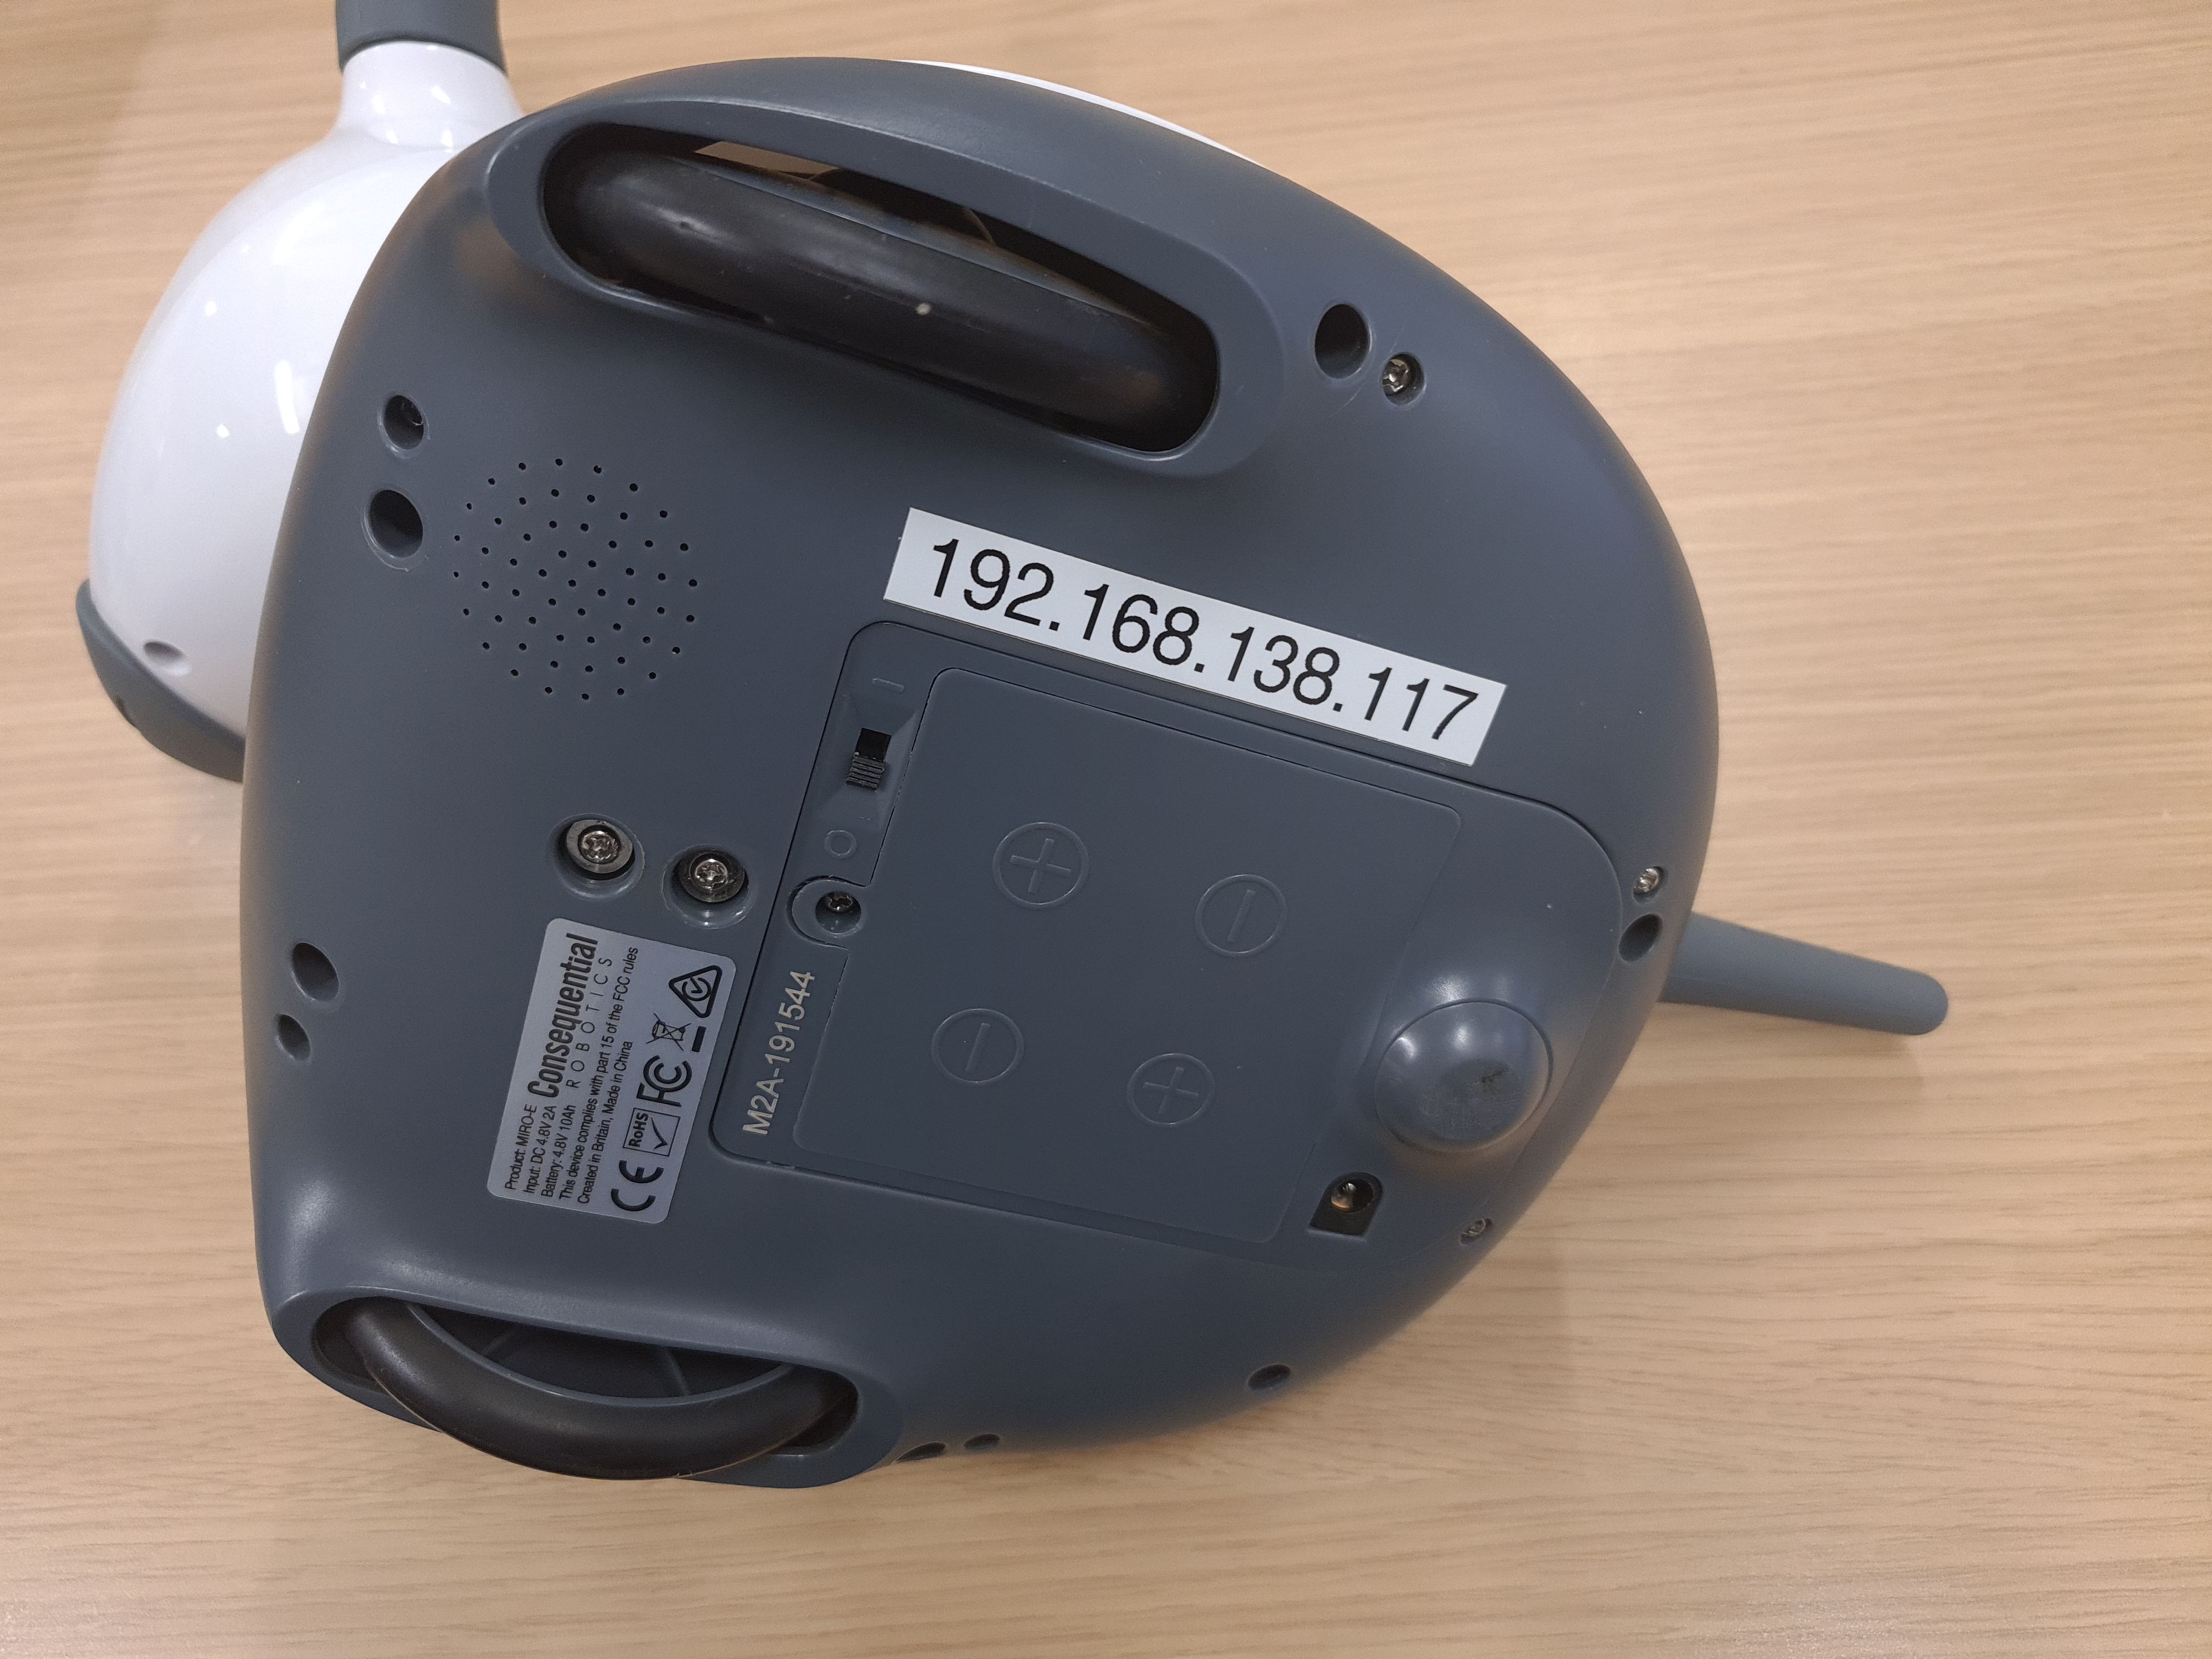
The IP address is printed on a sticker underneath each MiRo.
The last two digits are also duplicated on a yellow sticker on the back of MiRo's head.
Check IP Address
If you hear 127.0.0.1 or total silence, the Wi-Fi connection failed, and MiRo needs to be rebooted.
Rebooting
Toggle the switch OFF, wait for all LEDs to extinguish completely, then toggle ON.
Connecting MiRoCODE to MiRo
As mentioned in the introduction, the transition from the simulator to the physical MiRos is really simple.
Make note of the IP address of your robot and type it in the corresponding field in the robot control panel:

No passphrase required
There is no need to set the passphrase, so the corresponding field should be left empty.
To do a quick check of your connection, simply click on the Stop button in the robot control panel.
If everything is working correctly, this should replace the camera views from the simulator with the video feed from your MiRo's cameras.